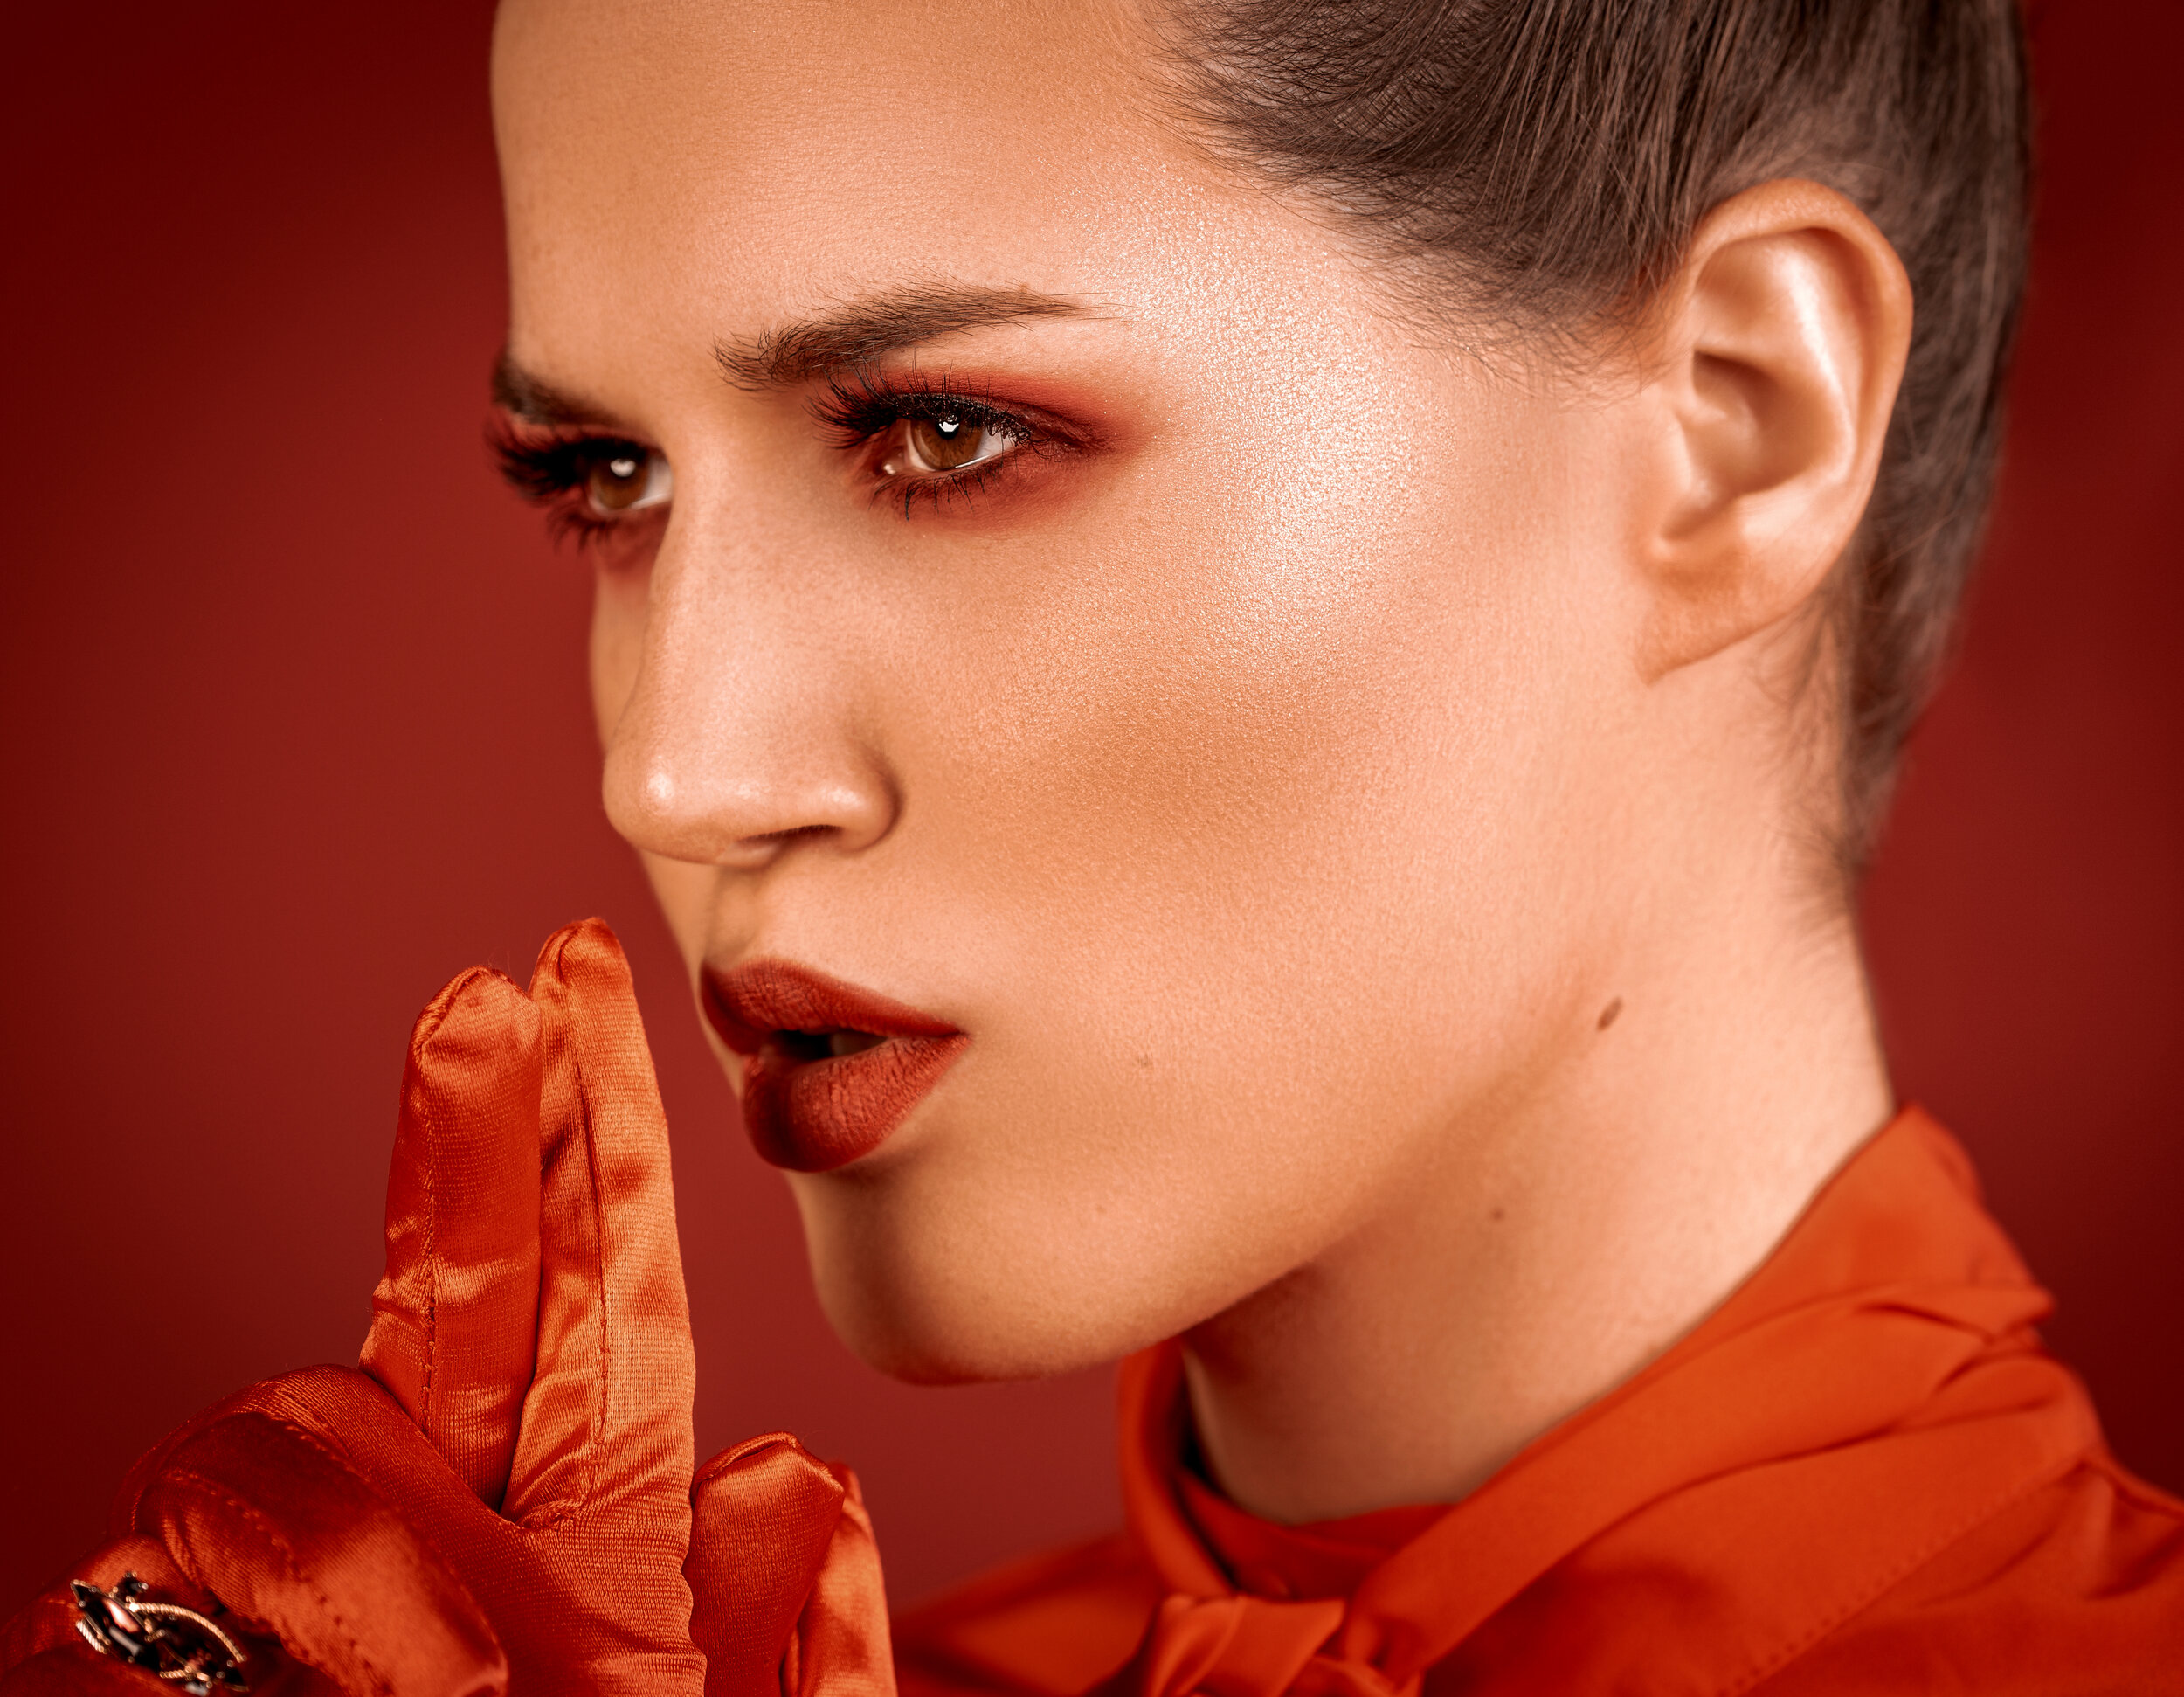
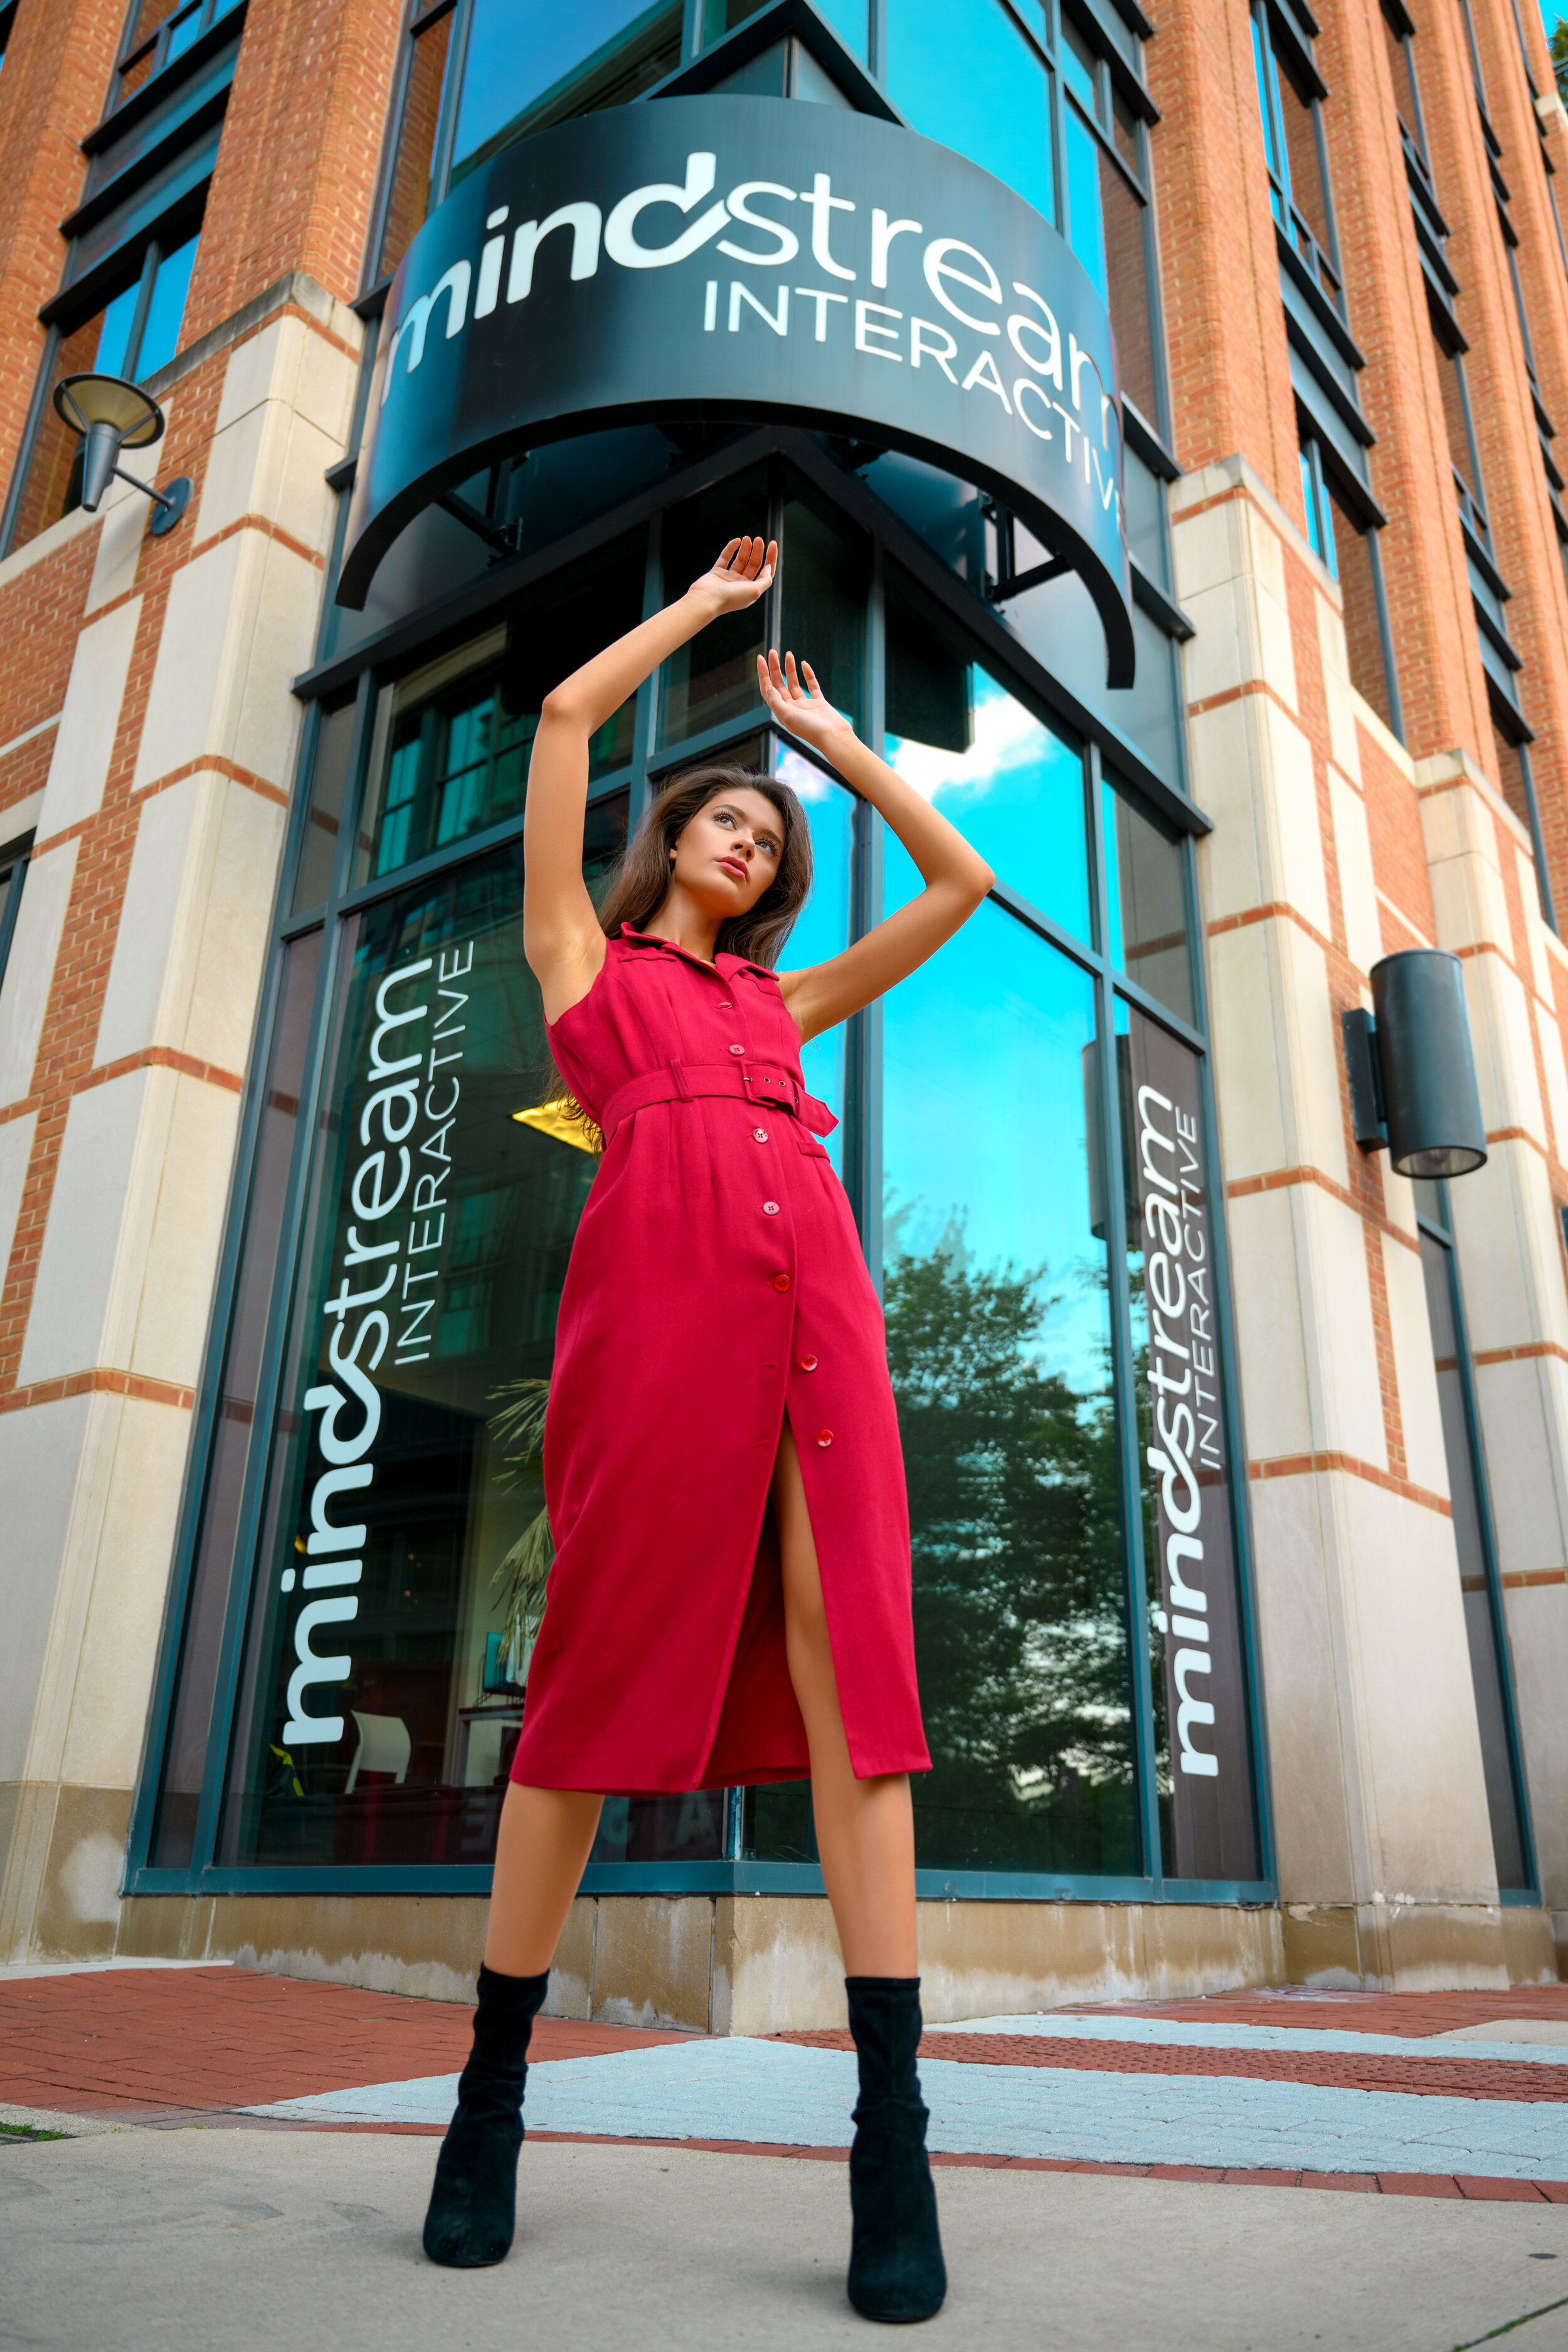
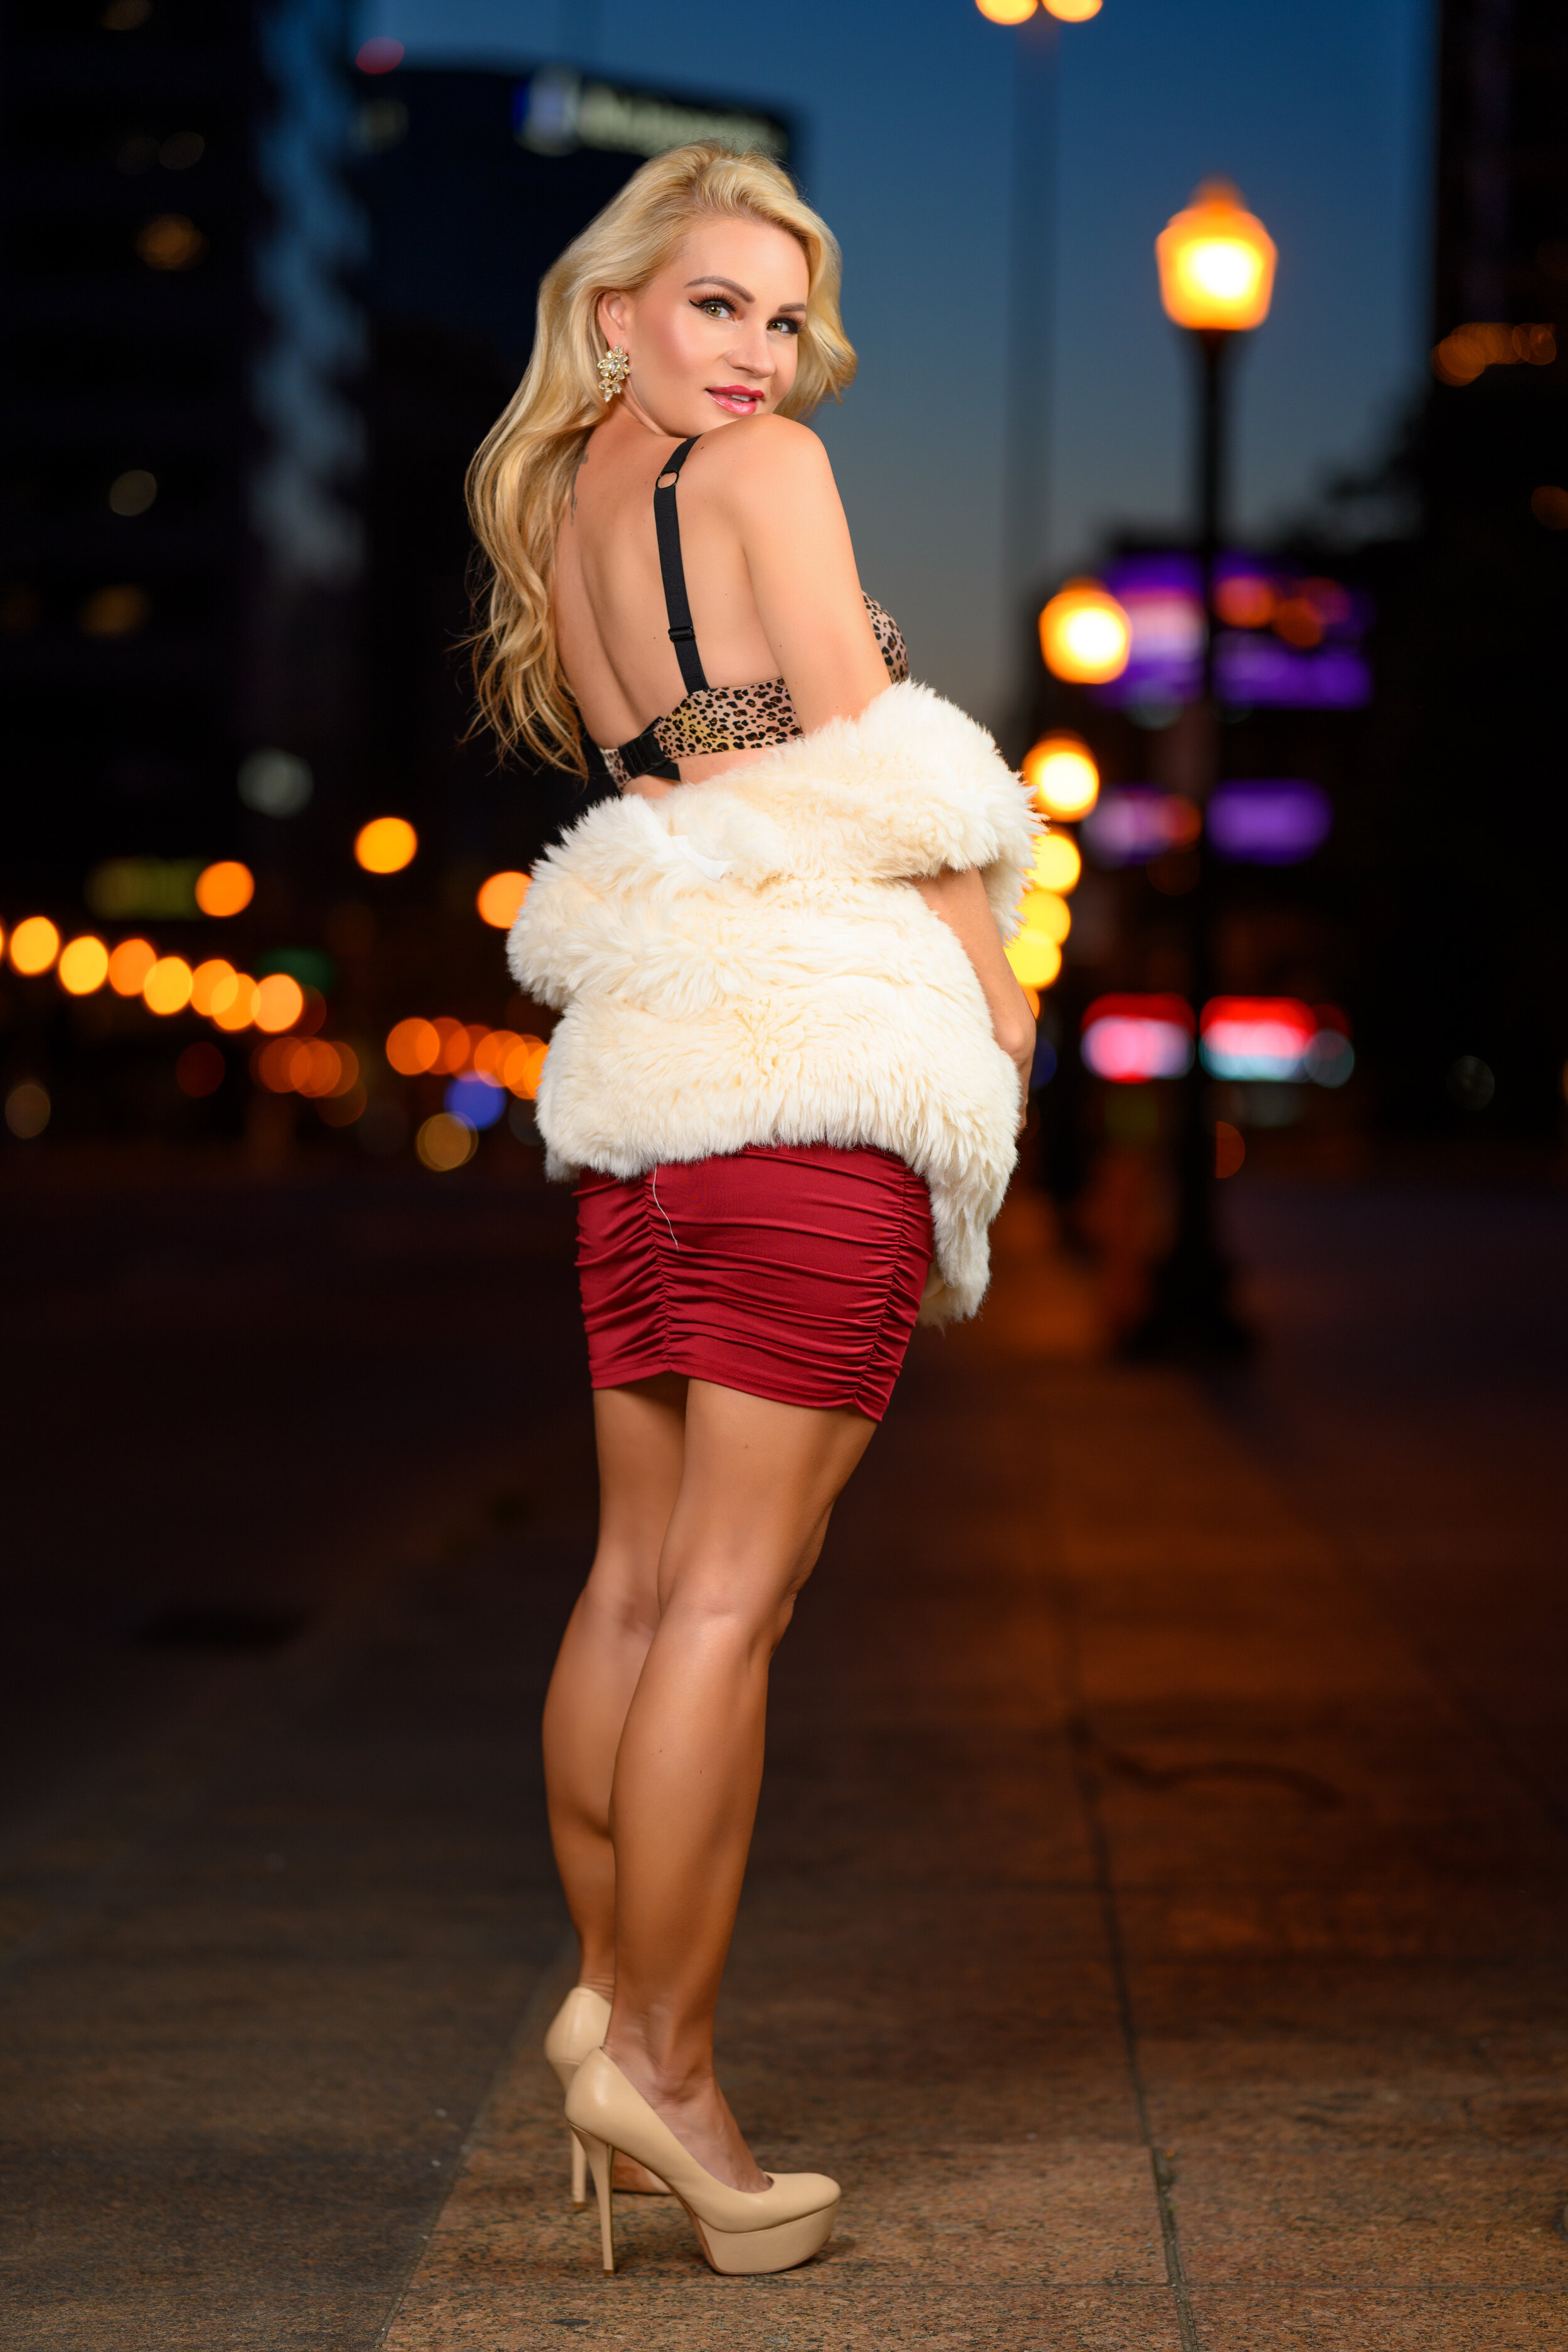
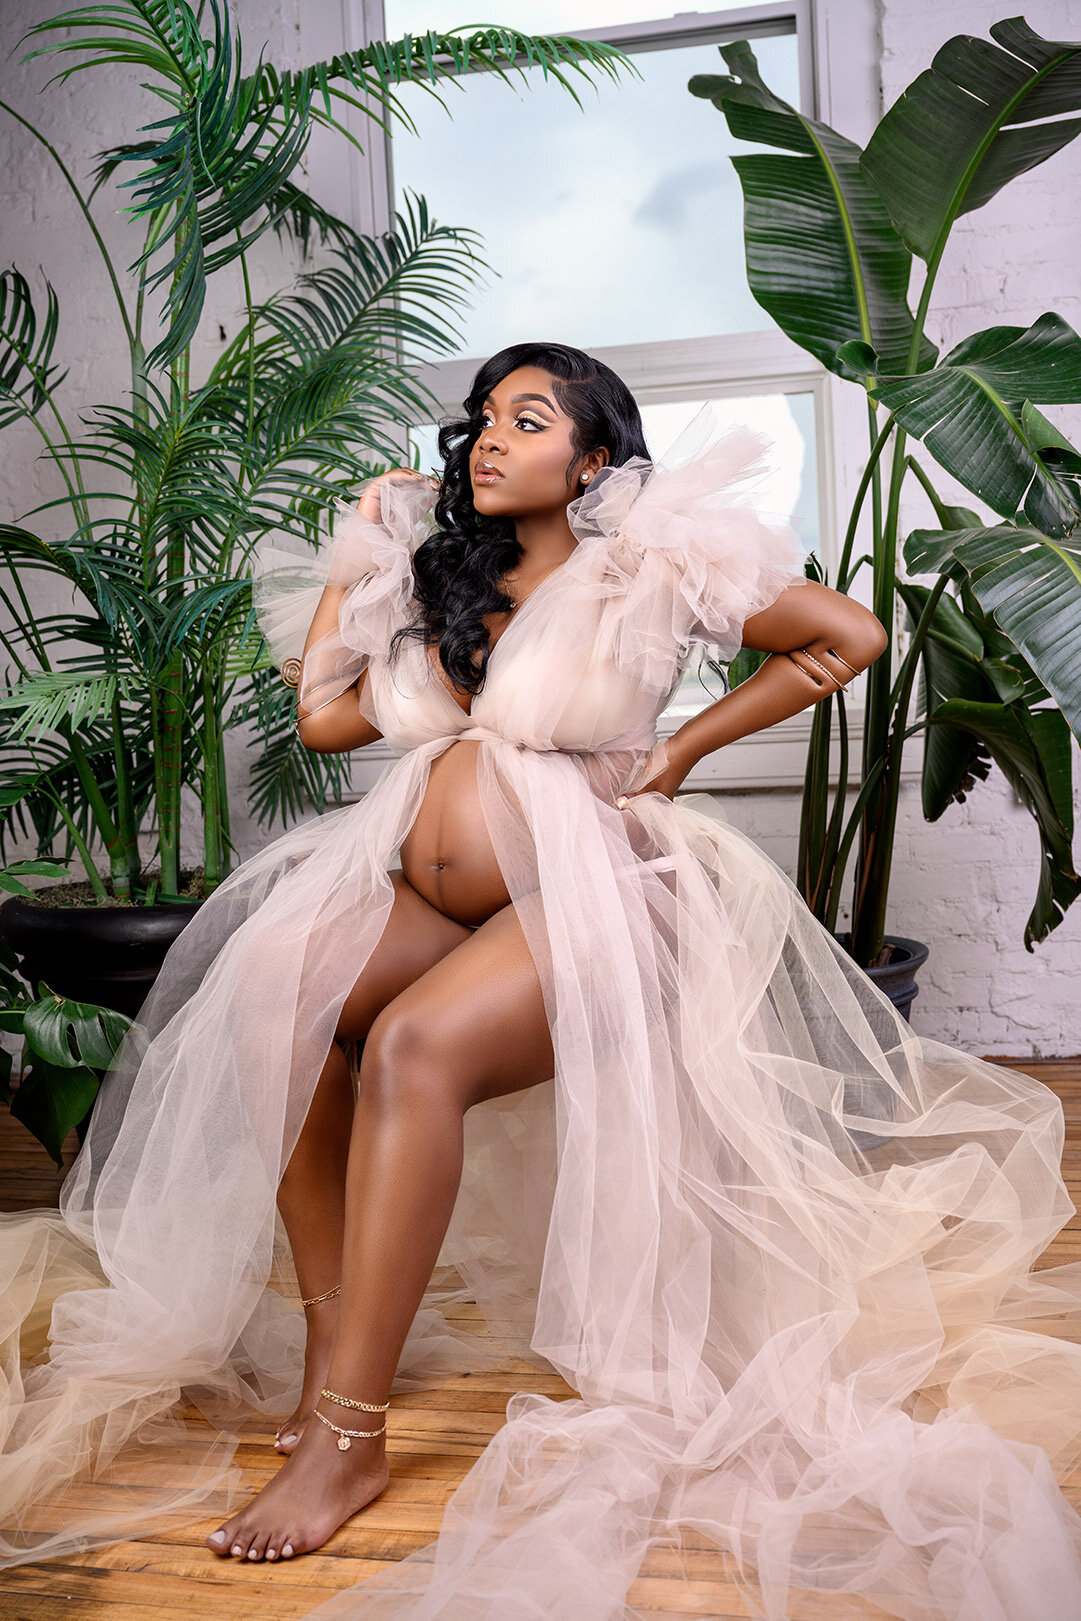
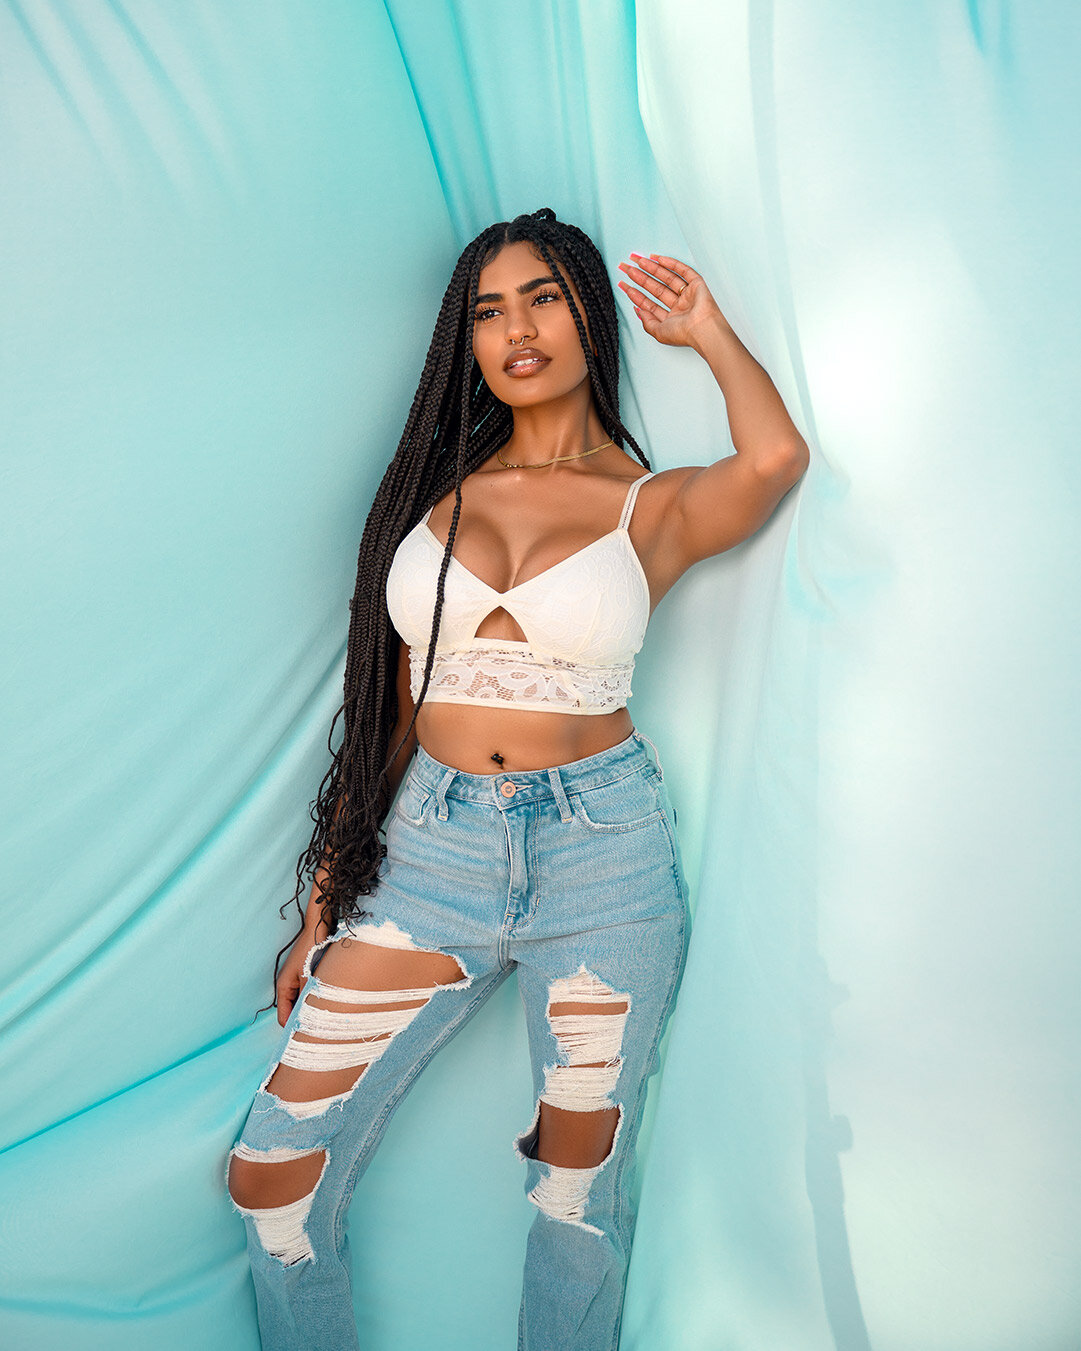
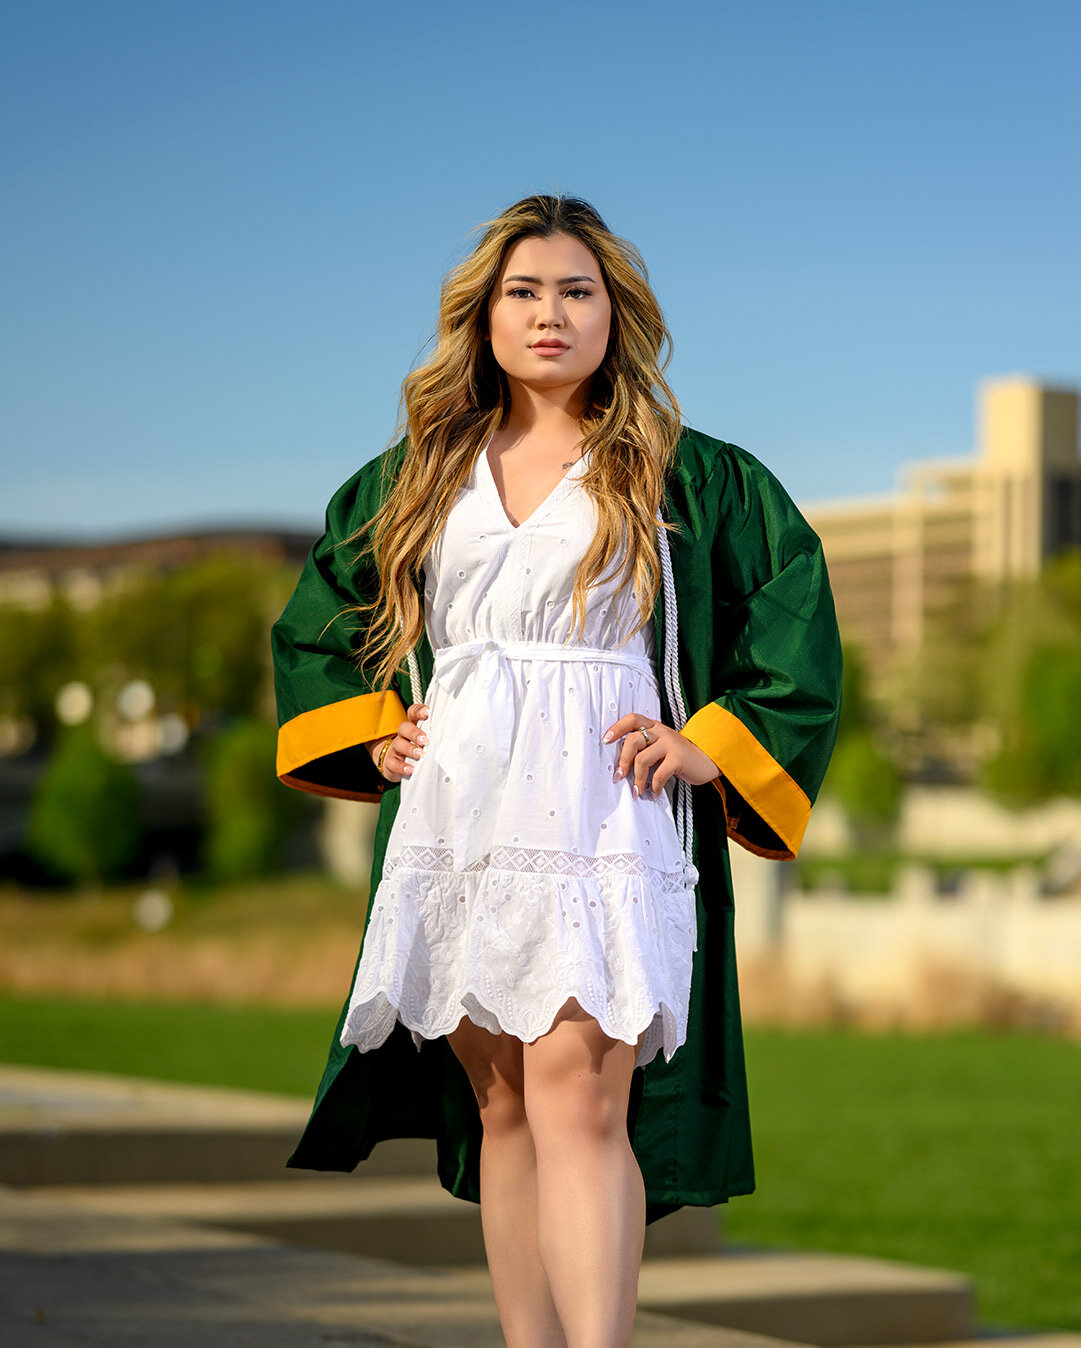
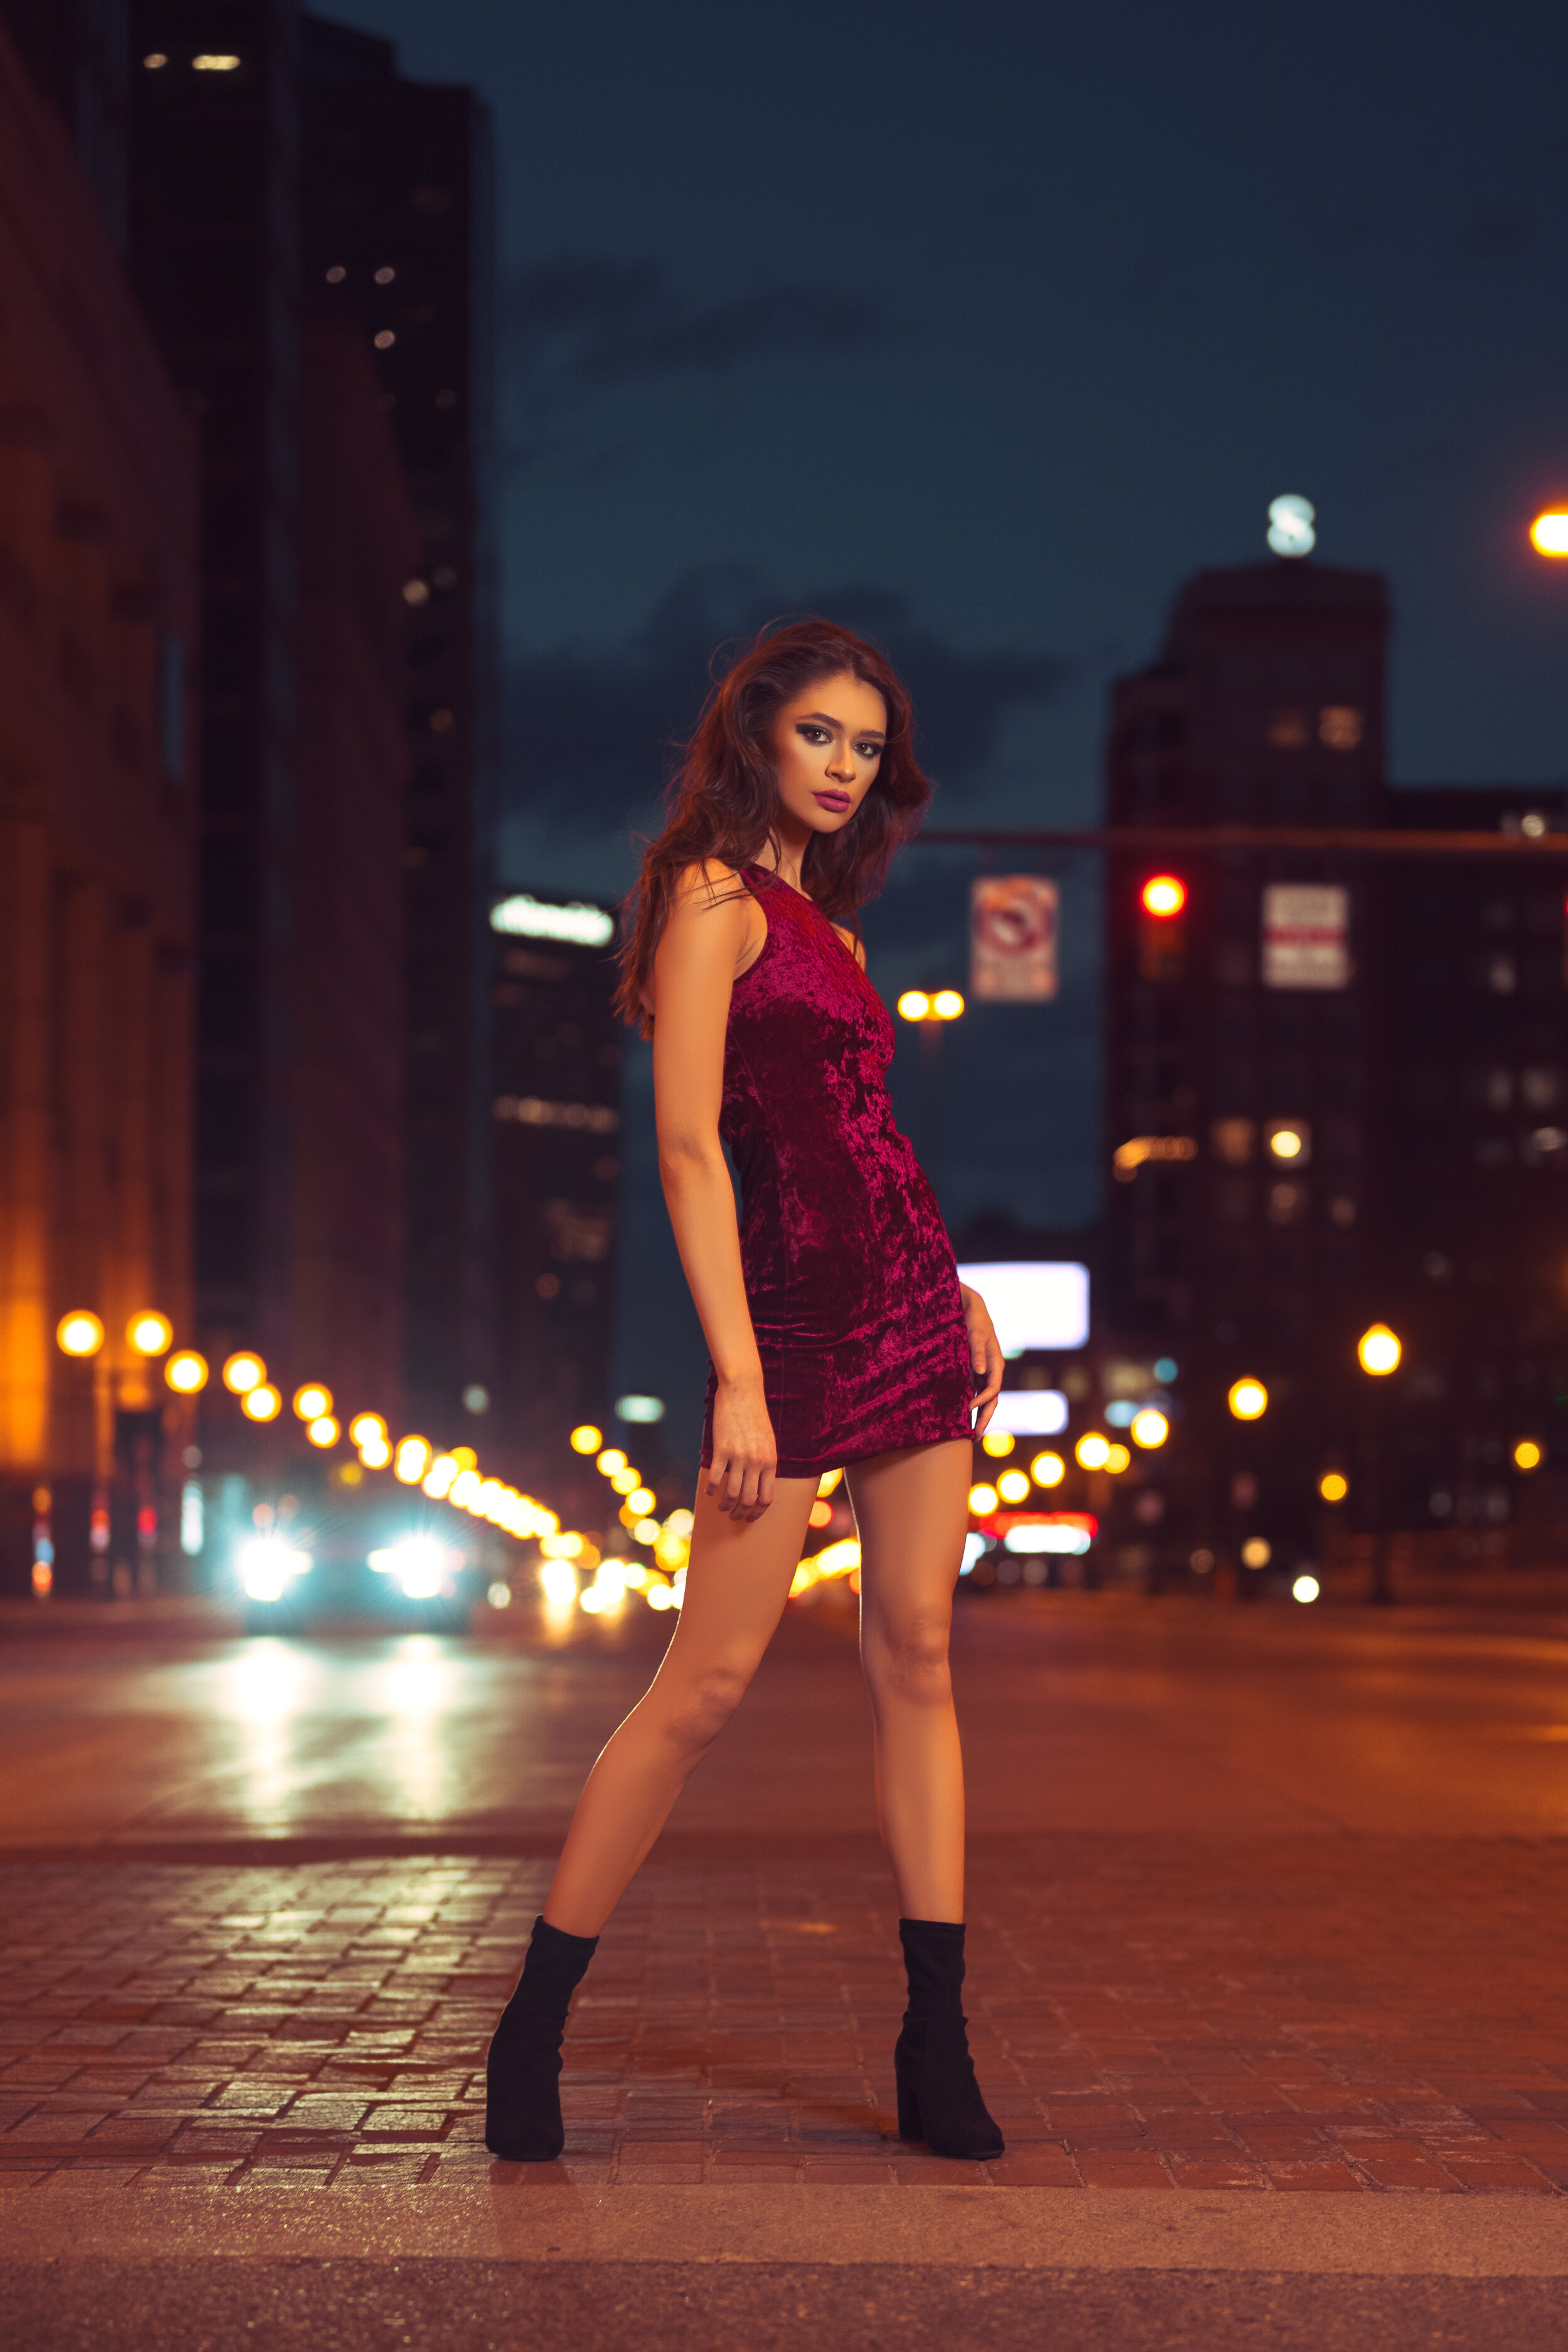
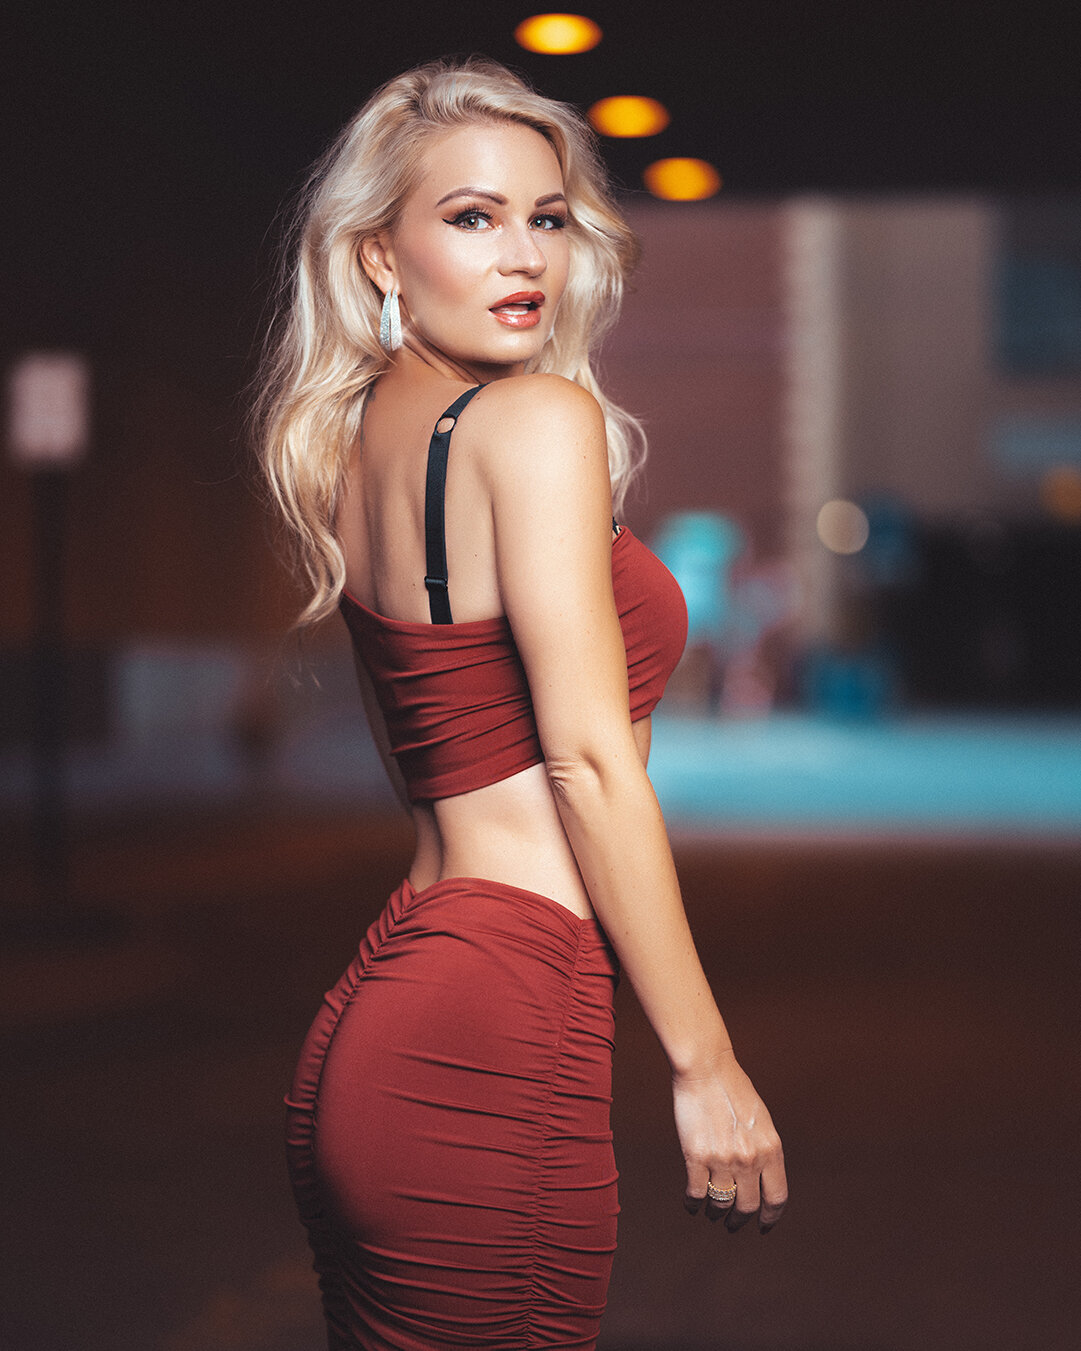
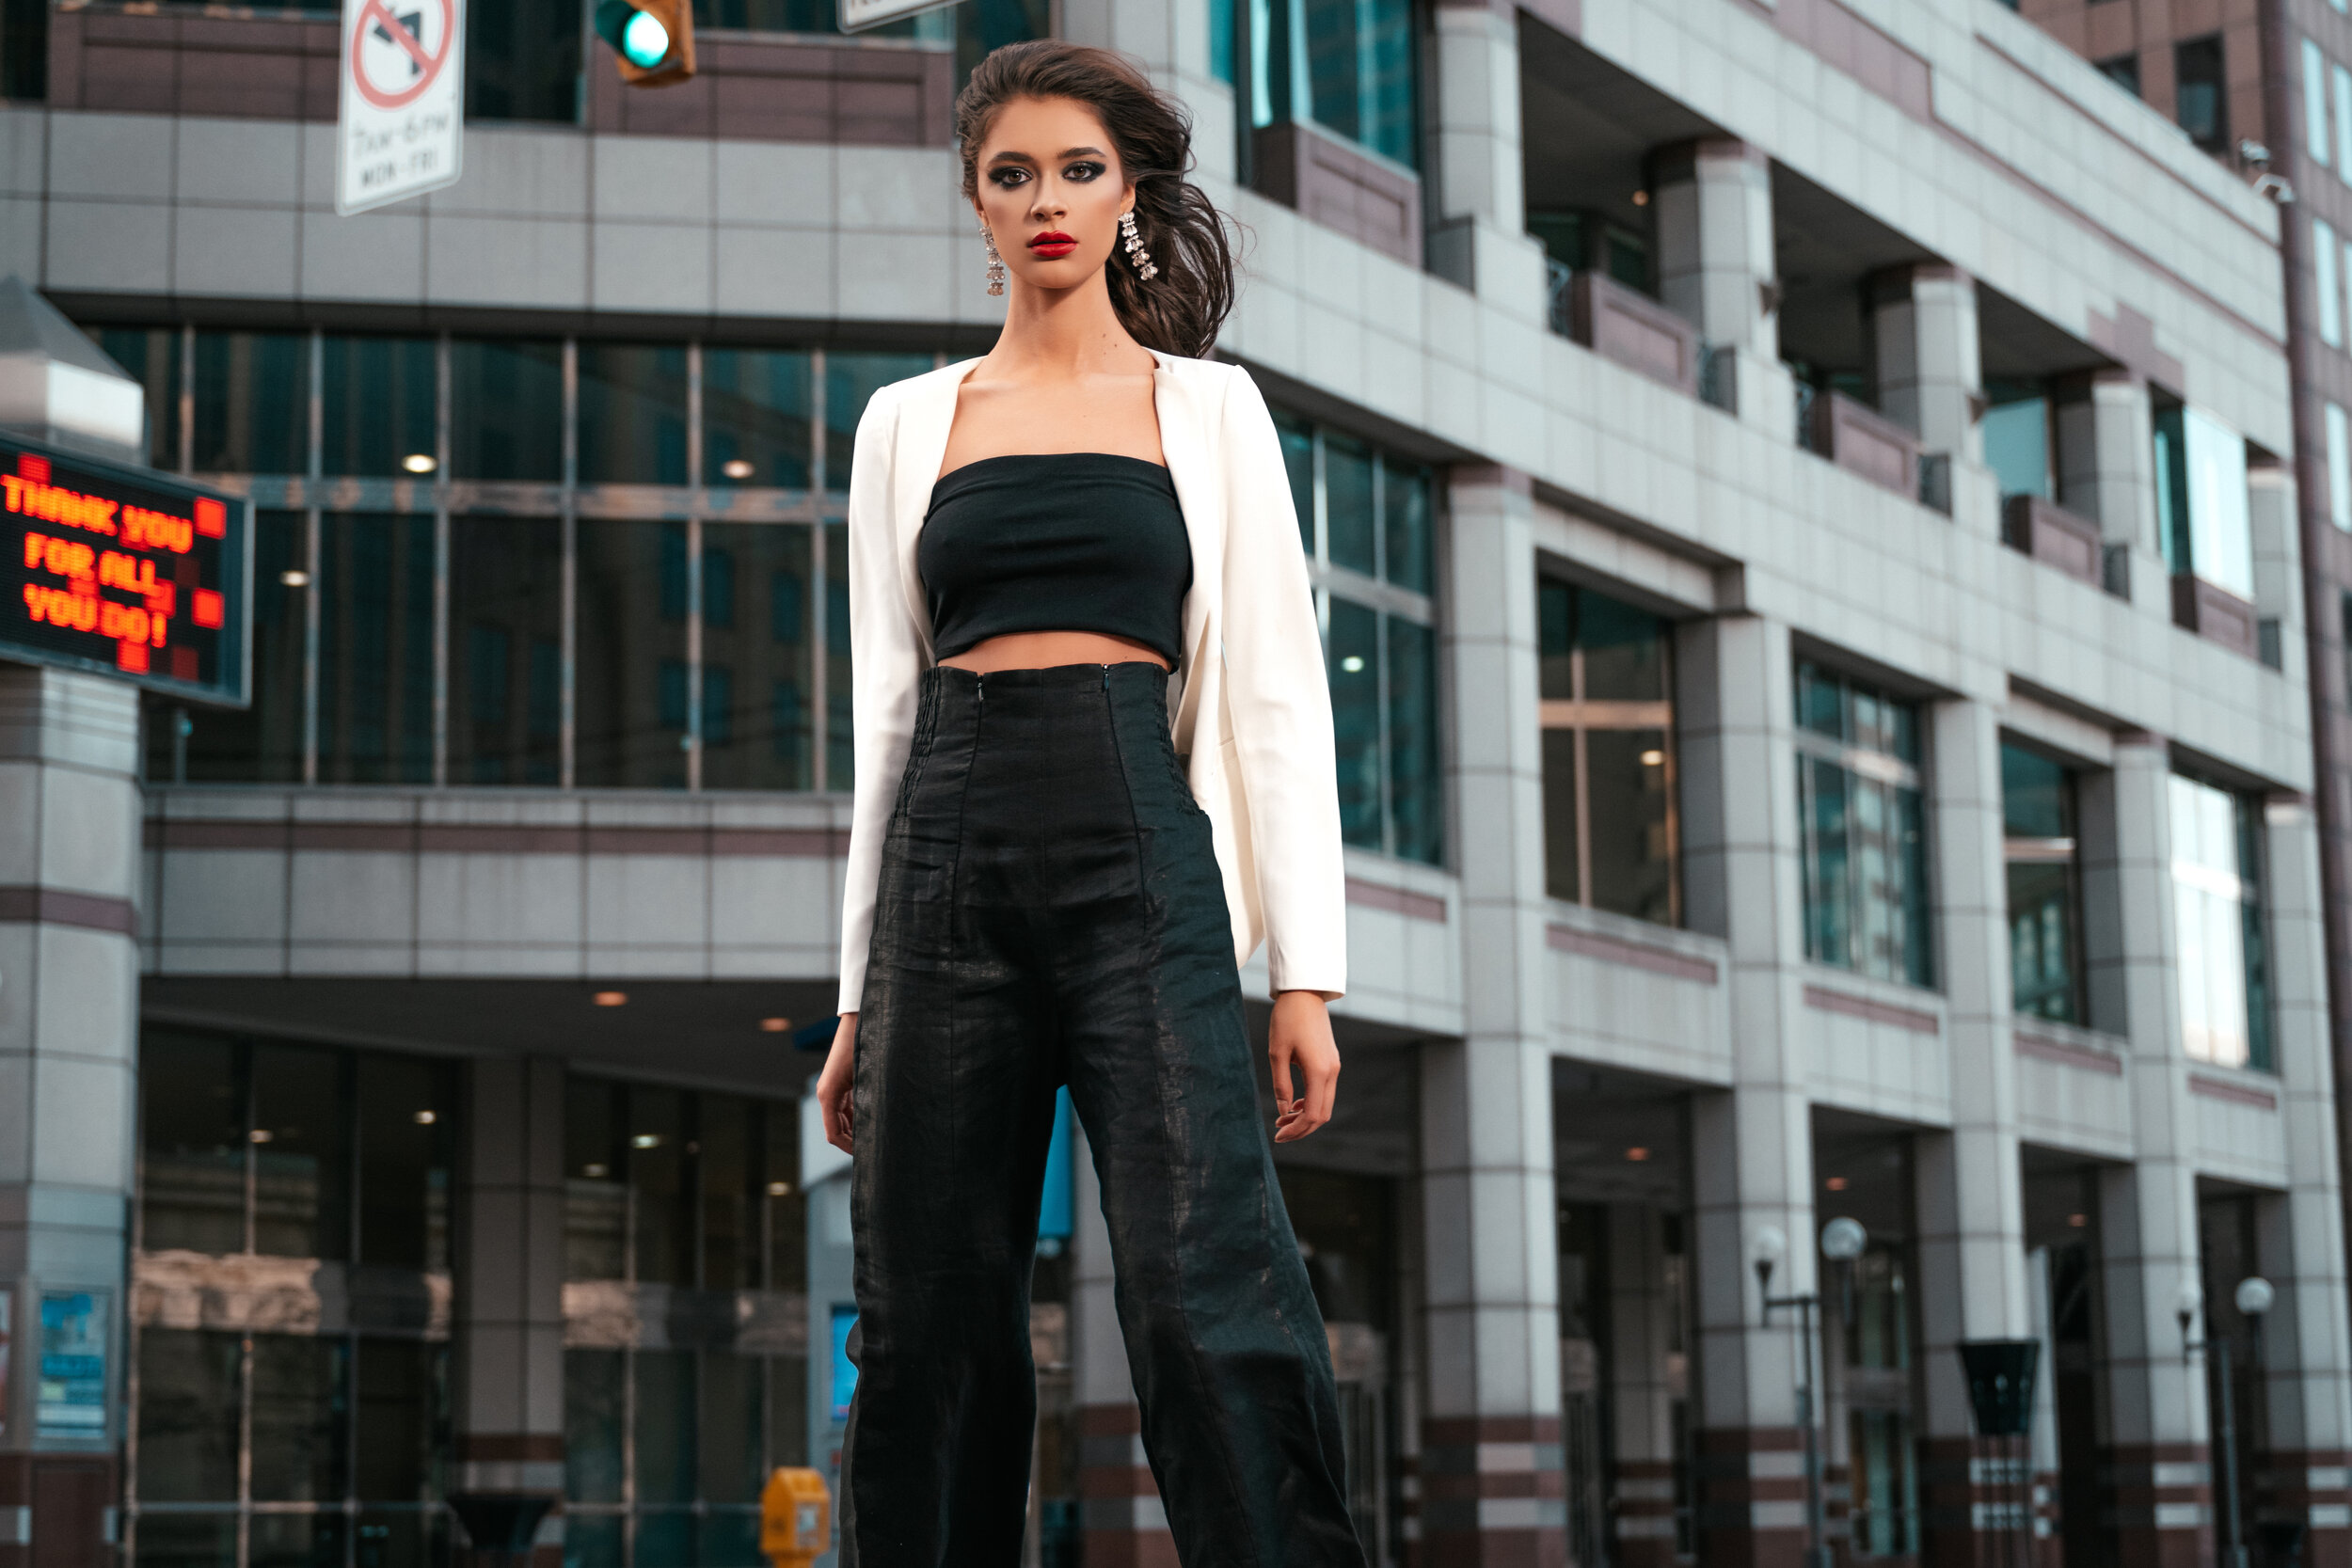
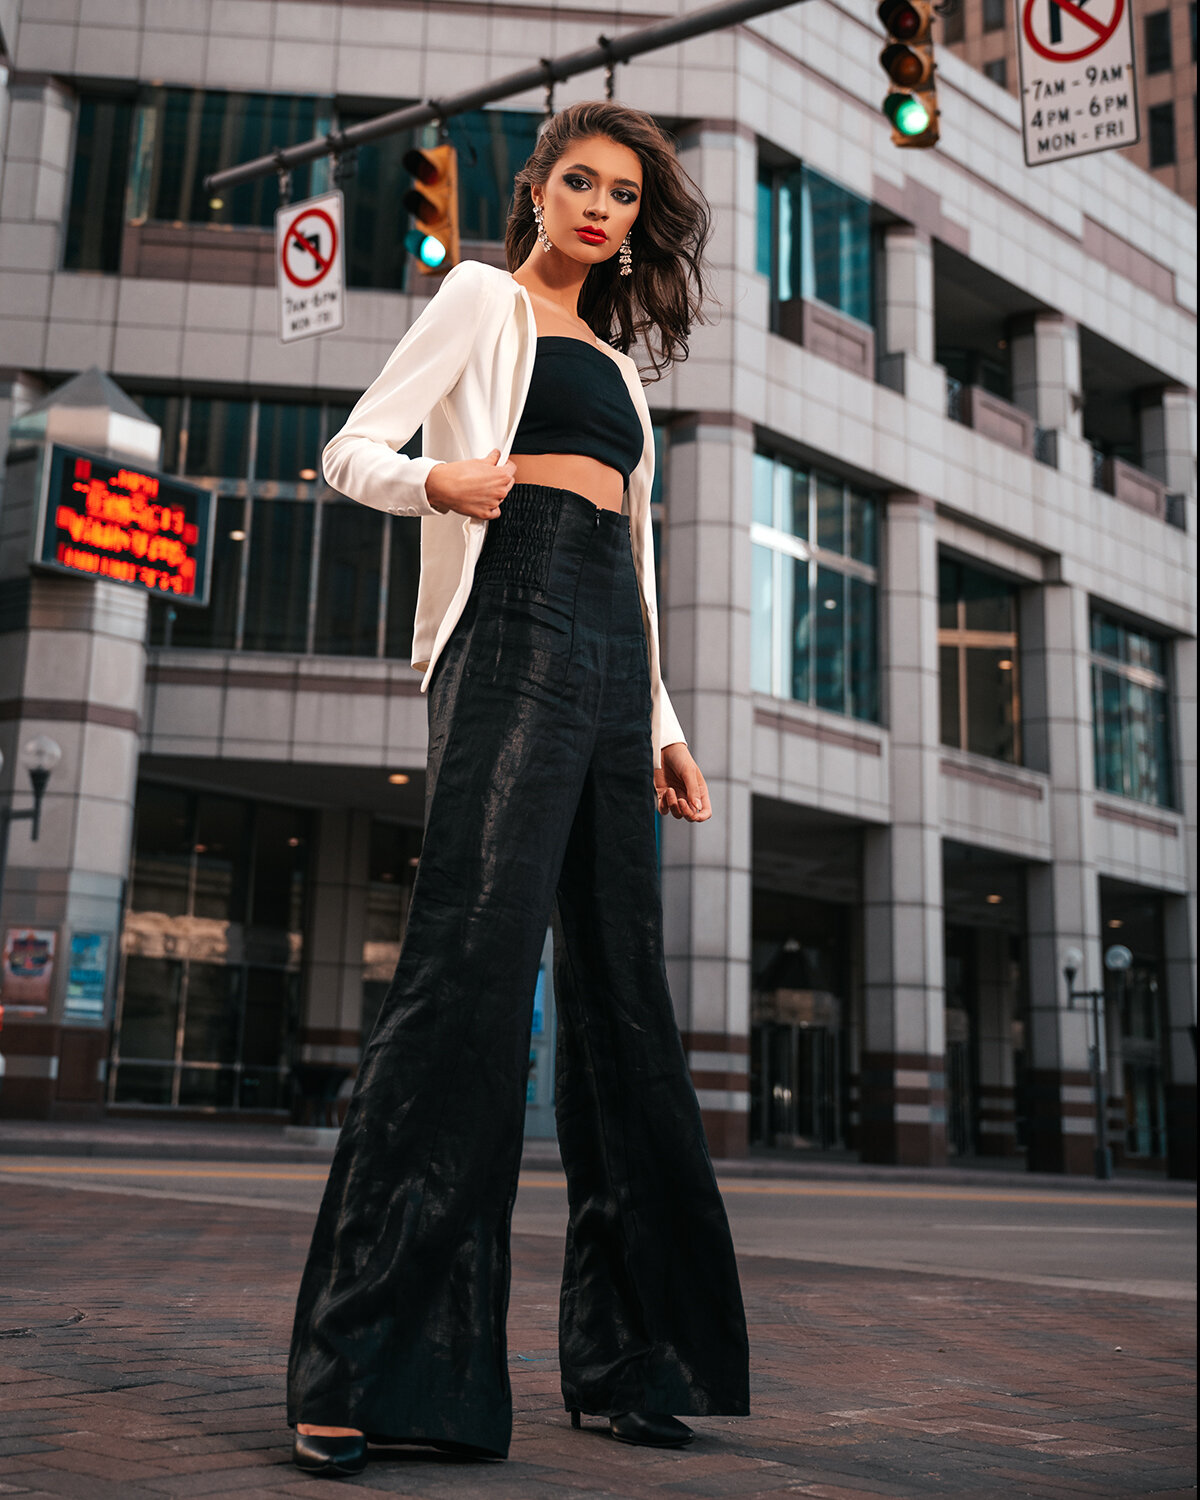
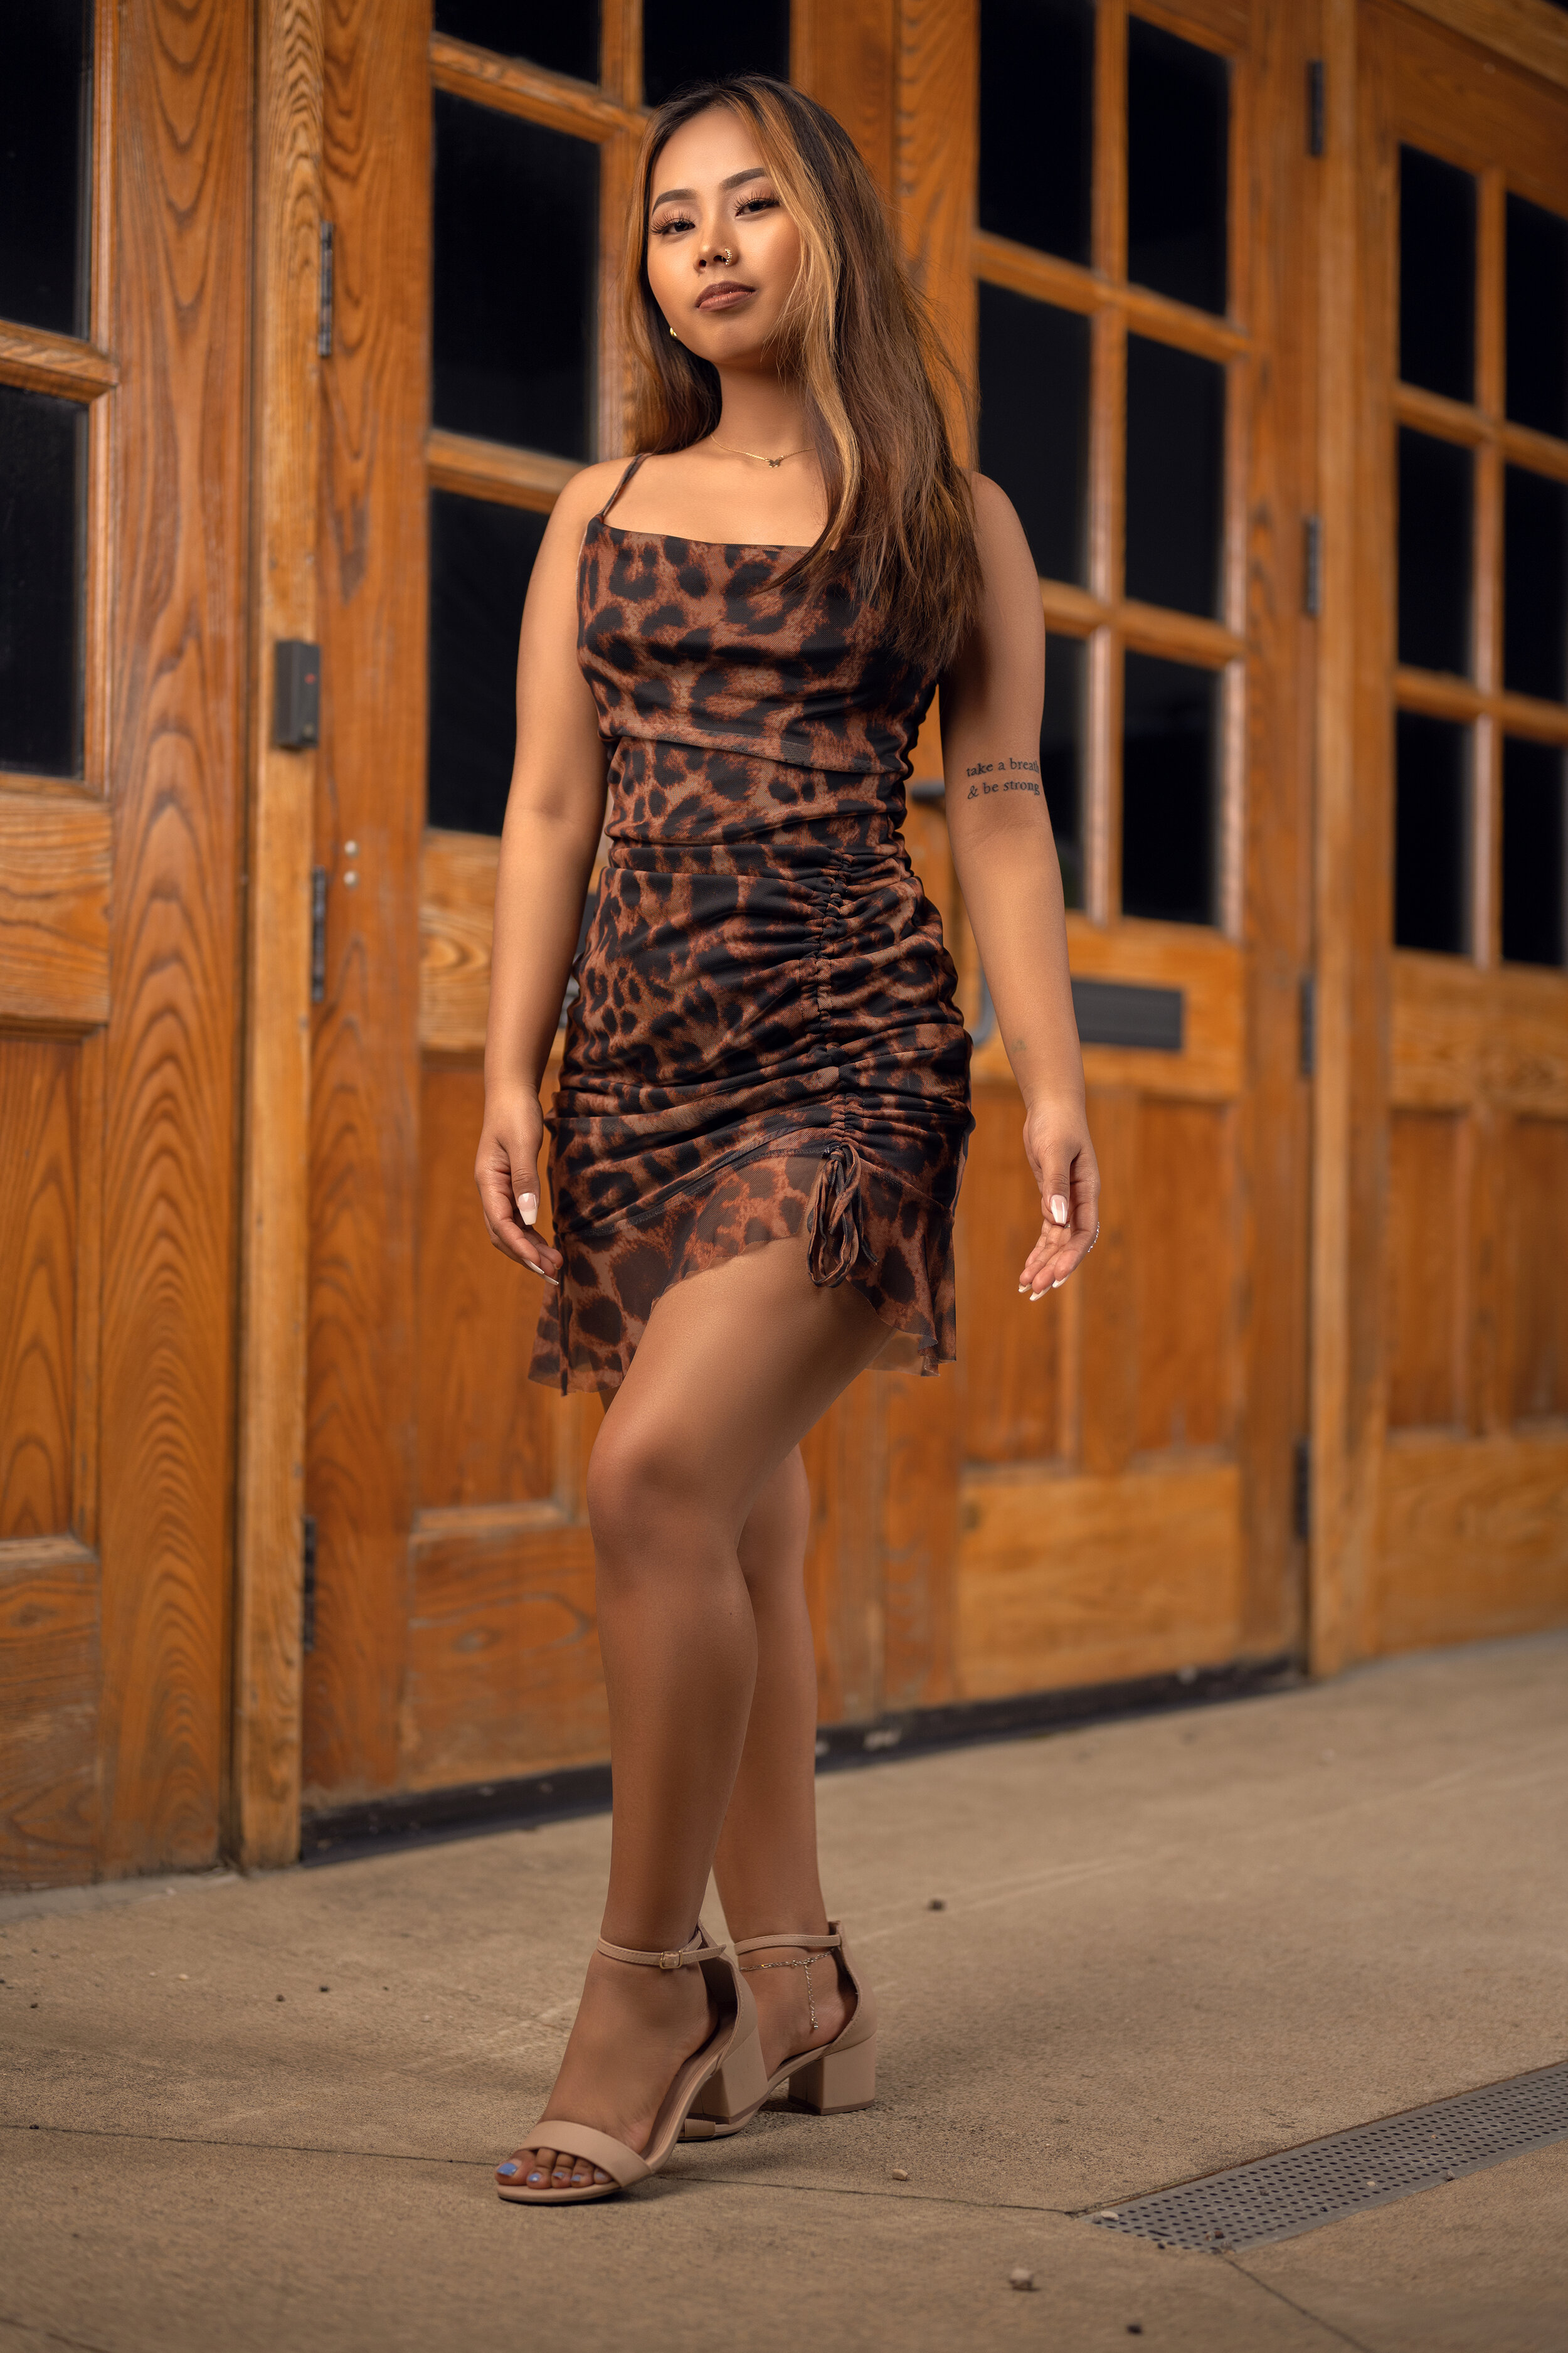
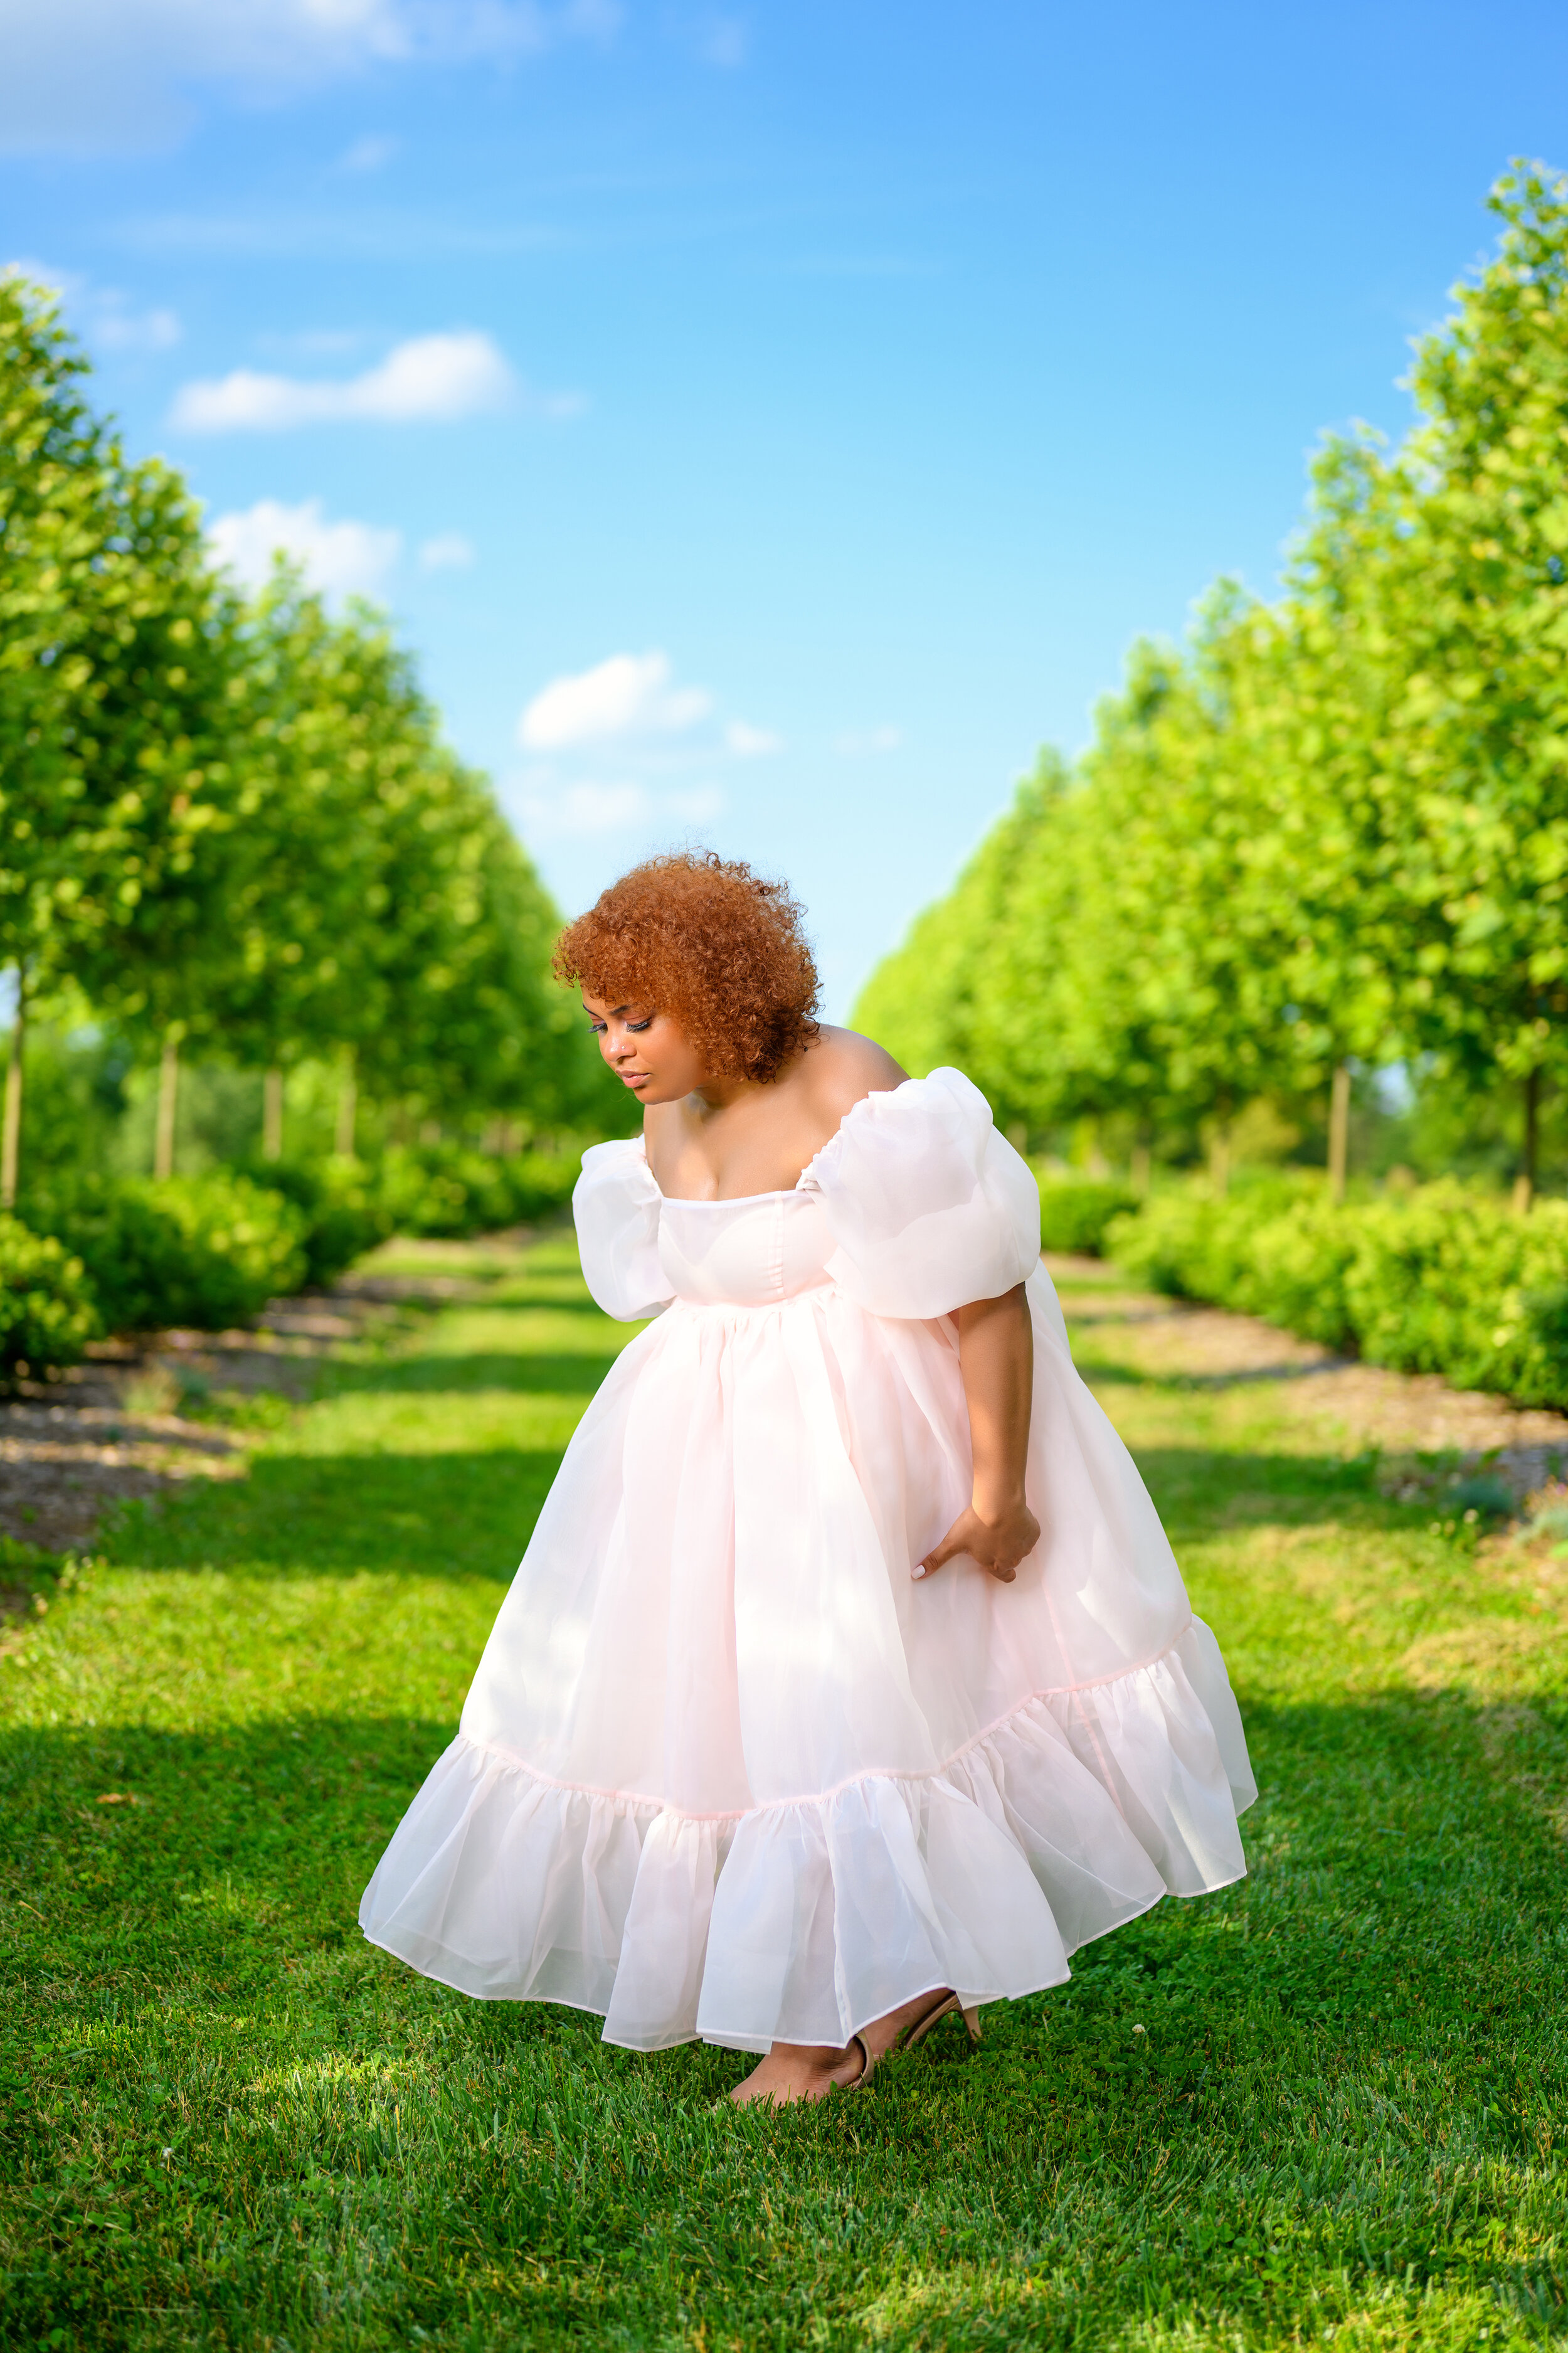
After years of perfecting these presets I am finally releasing something that is extremely hard for me. Although I am pleased that people like my style of editing, putting a price on something that defines me as a Retoucher is a hard thing to do. With this package you literally have the way that I edit photos. And although I may tweak some settings according to the photo it is still a very good starting point. Below are photos that I’ve attached that I have used my presets on.
Lightroom Hidden Feature. How to Make Photos Look The Same as They Do On Your Camera
Lightroom is an essential application that a lot of us photographers use to start culling, do basic adjustments, and build out galleries. It is truly one of a kind from all of the possibilities but there has been a uprising in the amount of customers that are starting to leave and go to Capture One. When I asked a few photographers what were some of their reasons on leaving Lightroom for Capture One most people answered the same way. “COLOR ACCURACY” Color accuracy seems to be a pretty big deal as it should. We all want our photos to look they way they do when we snap our shot. When we import our photos into Lightroom they appear different but…. there is a fix. And no, you do not have to purchase anything, you do not have to download anything. This is already baked into Lightroom. THEY JUST HIDE IT!
Before I get into what we need to do lets get into why we need to do this and it all comes down to “Color Profile. In your camera there is a profile that you shoot in. whether you know it or not it is present. I use a Nikon z7 ii and I shoot in Nikon’s “Standard Profile”. Different manufactures call their profiles different things but on default once you begin to import your photos into Lightroom converts all of your photo to their Color Profile. The “Adobe Color” Profile. If you look under basic in light room when you are in the Develop Module you will see “Profile” and it probably says Adobe Color. This is why a lot of people think produces inaccurate colors. Lightroom is changing the color on our photos to their standard and not to what our camera took the photo in.
When you drop the menu down you are presented with more of “Adobe Color Profiles” but once again this is not what we see when we look at our cameras. So this is what we need to do. Click the 4 boxes to the right of where it says Profile.
Then you will be presented with these other options. Adobe Raw and the most important setting of them all. CAMERA MATCHING. Now before I continue it is important for me to clarify that this option is only available to people that shoot raw. When you shoot Jpeg your camera already bakes everything into the image so you probably aren’t having these problems of “inaccurate colors” in the first place. Shooting Raw allows us to be able to tweak or photos in way more ways then shooting Jpeg therefore we are allowed to change our color profile of the image as well. Back to the topic at hand. Drop down the Camera Matching tab.
Now as I stated earlier, depending on what camera you use your profiles will have different names. If you don’t know which profile you currently are shooting in that doesn’t matter either since you can choose which ever one you feels looks like it does on your camera. Now on to the next step. If you guide your cursor over each of these profiles you will see a star appear. So you don’t have to do this drop down menu every time to apply it you would want to click the star to make it a favorite.
Now once you favorite all of the profiles you would like to keep for your photos go to the top right and click the close button.
Now when you click the profile button you should start seeing the ones you highlighted as well. This should give you 100% accurate colors from here on out.